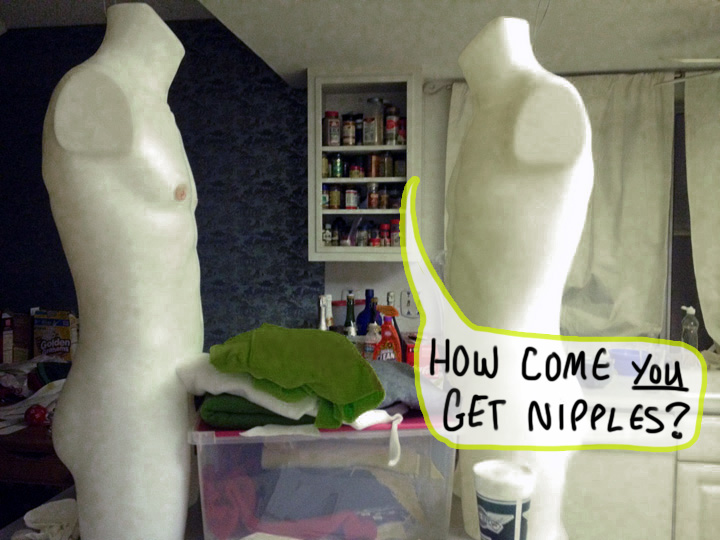
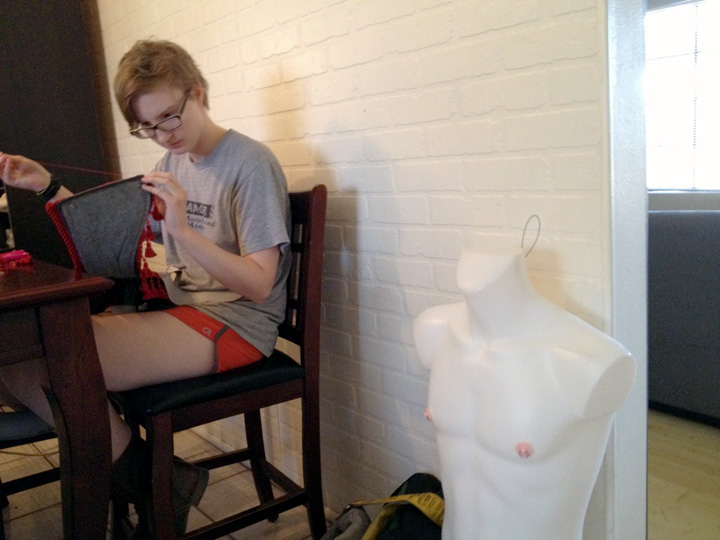
It all started with a male torso Mark picked up from the dumpster at Blue Man. We figured we would use it for something eventually so we stored it on top of the vending machine at SYN Shop this spring. In time, everyone started taking a liking to our torso. He obtained nipples, a cod piece, beach cover, and above all else, acceptance. Mark and I then named this torso Tiberius, our first child.
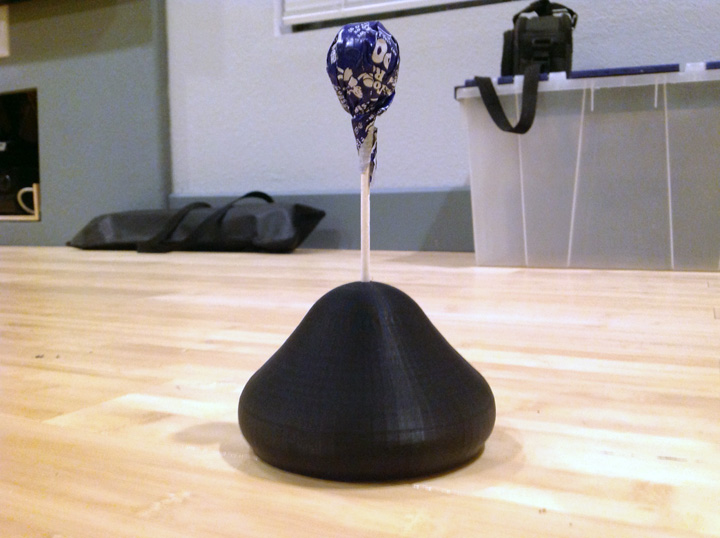
During the weeks we spent imaging what freaky things we'd like to do with a plastic limbless body, we developed Project "L". It started with the idea to create a machine that tested how many licks it took to get to the center of a tootsie pop. At first our visions were pruely dry and practical, but as our chattered progressed, the project evolved much like our friendship into this raw theatrical display of absurdity. So we went back to the white dummy and proposed the same idea, this time with an artificial tongue licking the only place a properly warped mind would envision a limbless body licking.
No sooner did we blurt out "Wouldn't it be effed up if..." did we decide that our scheme had to be done.
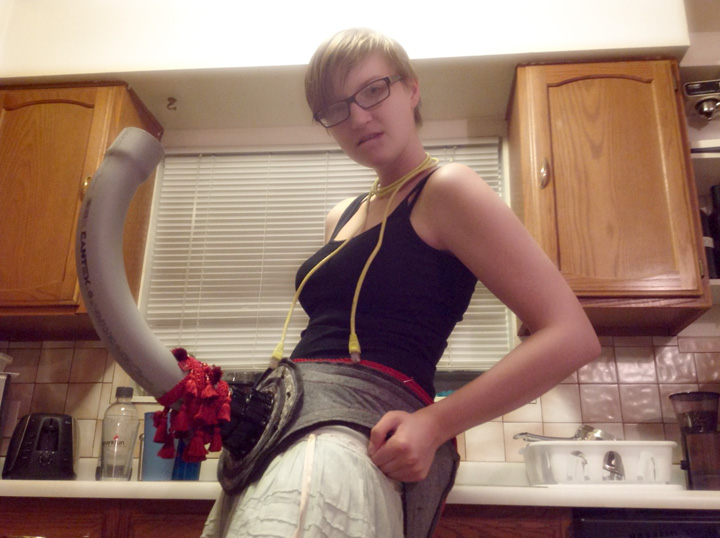
Again, this is only the lower half of the project, so a lot more is to come. However for now, I'll tease you with the details about how I made this lovely piece of work.
I am afraid of sewing machine. They are strange, fickle beasts that I can not appease. So alas, I hand stitch everything I make. This strap-on is no exception. I didn't cut any corners here.
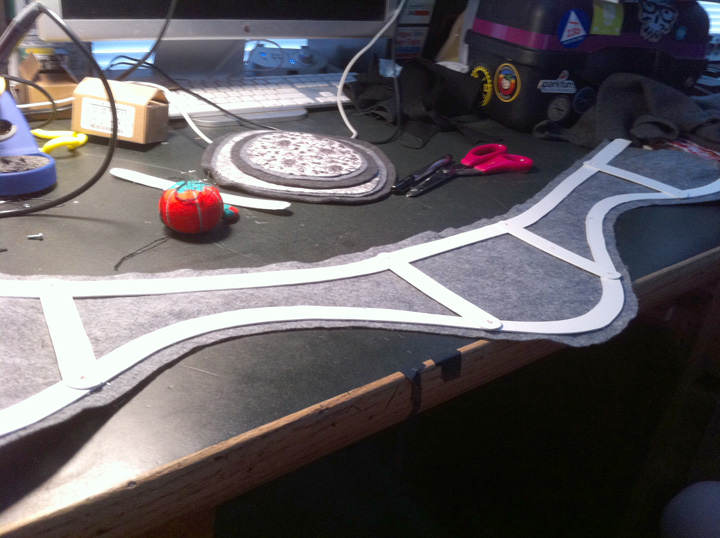
Jeff took me into his garage a couple weeks ago and showed me a pile of ABS sheets stacked high above the track of his garage door. I decided to use a thin, flexible plastic for the boning/inner support structure of the belt. When I finalized my pattern, I hoisted a piece down while wearing a bike helmet to protect my compromised skull. It was then up to the shower to hose it down. Living in the garage, the thing was scuzzy. After a good scrubbing I took the pattern and traced out the support pieces.
I sandwiched these inch thick strips between my two pieces of fabric and stitched them in place. This took forever.
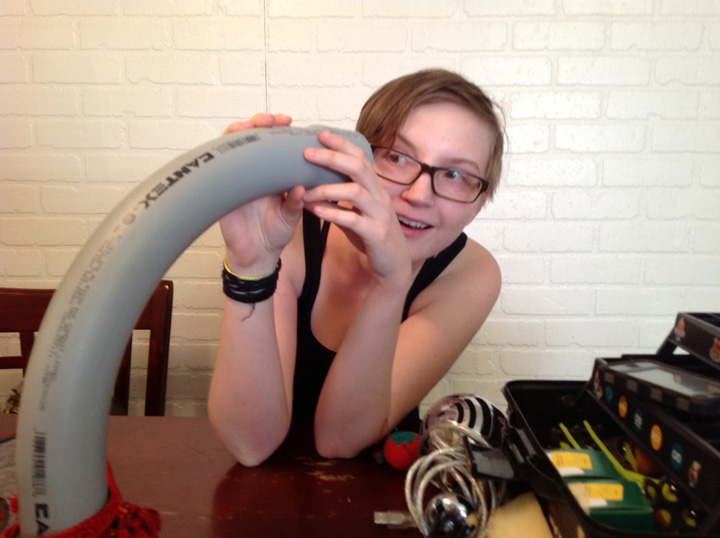
After the base belt shape was made, the fun part was going to Lowes and scouting for the phallic piece. I stood in the plumbing section in my pajamas selectively trying out pieces of tube, holding them to my pelvis and examining their height, angle, and girth. At some point an employee, looking something like Jeff Foxworthy walced up and asked if he could help me find anything. Heh.
I settled on this super big 90 degree angle piece of gray pipe... delicious, no?
I modified some shower drain attachment that Jeff found while we were at Home Depot. With a couple holes drilled around the lip it was ready to mount onto my fancy 'pelvic plate'.
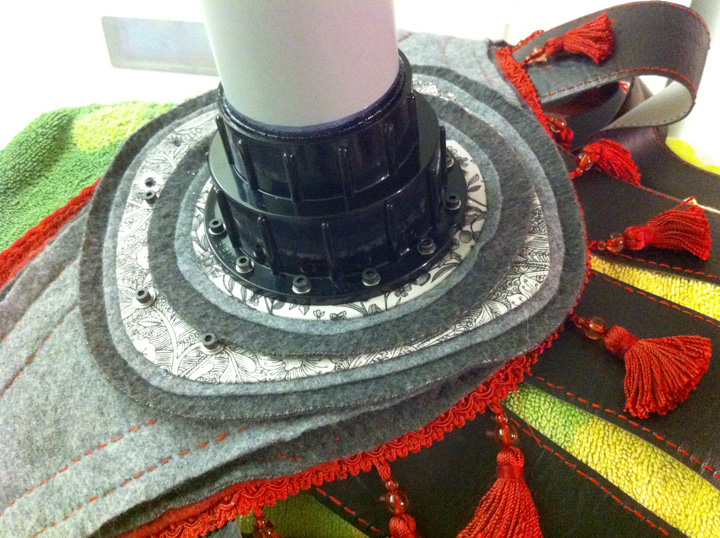
It has some weight to it, so Jeff helped me reinforce the pipe by sandwiching two ABS plates on either side of the boning. That and a few super huge washers did the trick.

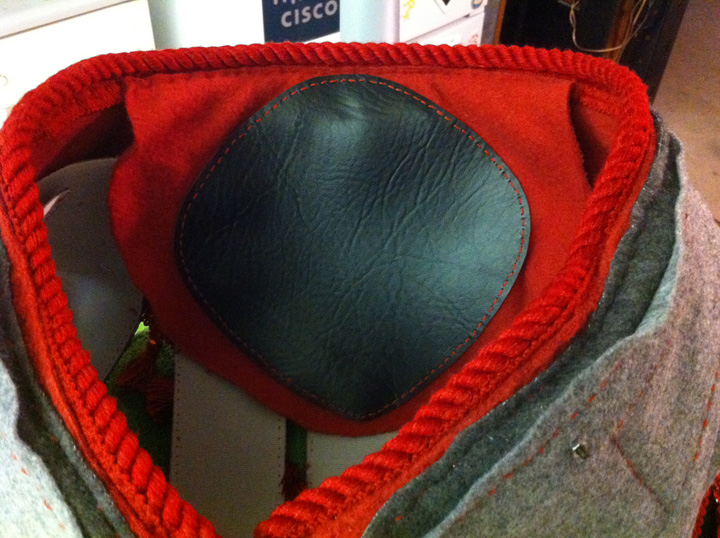
I gave all that hardware a vinyl flap on the inside so it doesn't mar up Tiberius' supple tummy.
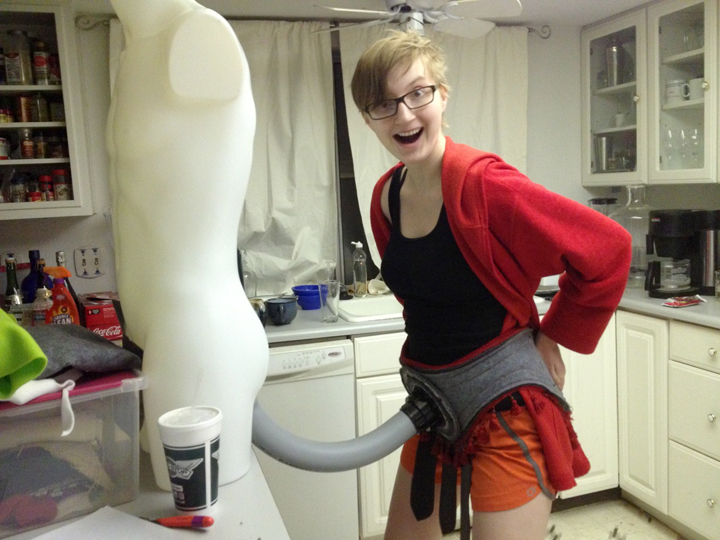
After adding yet another layer of ABS lining inside the fabric of the belt (this thing is heavy) I was ready to strap it on for a test drive. The pipe sits erect and doesn't wobble side to side or sag. SUCCESS!
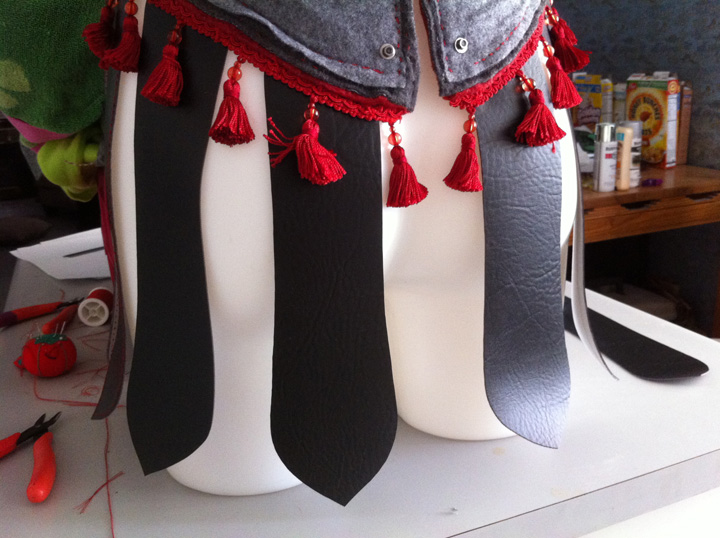
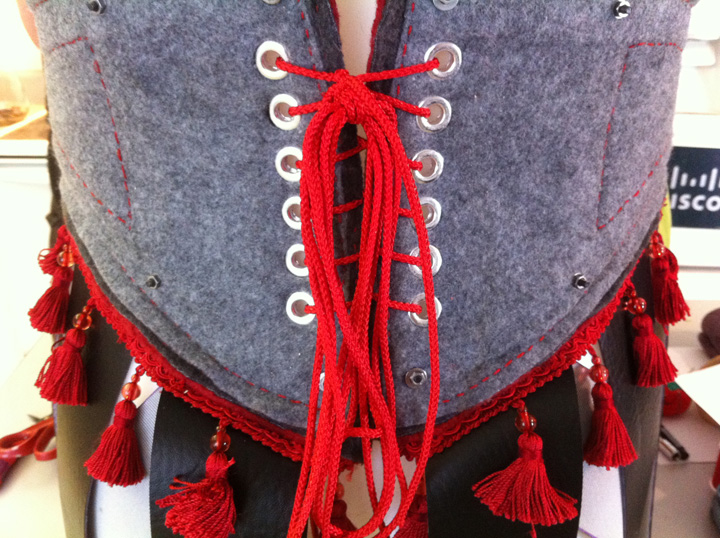
At that point, Mark had finished his last week of work and was free to follow me to all the craft stores in town to hunt for flare and garnish. I got some red brocade cord for the seam along the waste, and beaded tassels for the trim along the hip line of the belt...

We decided that the belt was missing something. It needed another element... Like fringe or feathers to make it more kilt-like. In the spirit of all that is Sarah I chose to add a band of spaded pleats along the bottom for that Roman centurion look. So black vinyl was on my list of materials now...
For another week I dragged the belt back and forth from my place to Mark's, confusing all who happened to lay eyes on the cargo I was loading and unloading from my car. After sewing on all the flare, I had only to cut out my spaded pleats and sew them into place... spaced out just enough to give you a peak at what Tiberius is packing (which is more than most).
The tricky part was installing the grommets. I had never done anything like this before so I didn't plan ahead and drill holes through the plastic or fabric. This far into the game, my only option was to punch holes through the layers of material... or burn through them with an old soldering iron. Burning was easier. It left chunky melted ridges around the holes though :
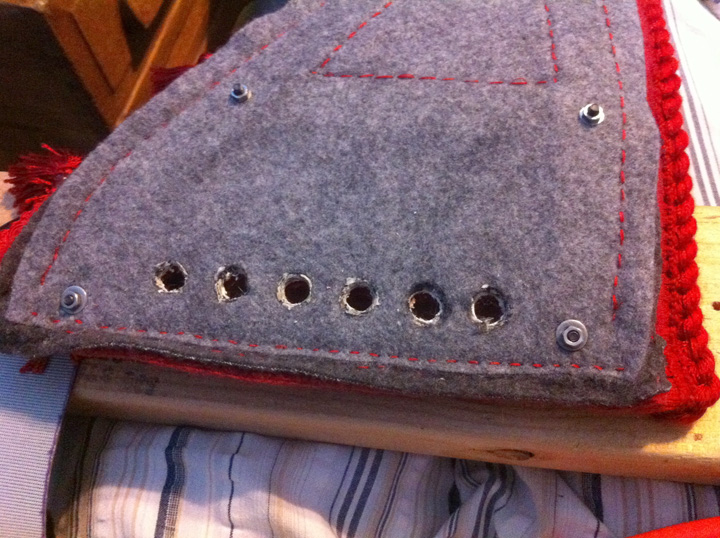
Time and nipper cutters took care of that... and here is the result :
Last but always first is the tip. The head. The sensitive part. And in this case the part that holds all the electronics. The fun stuff... which is Mark's department.
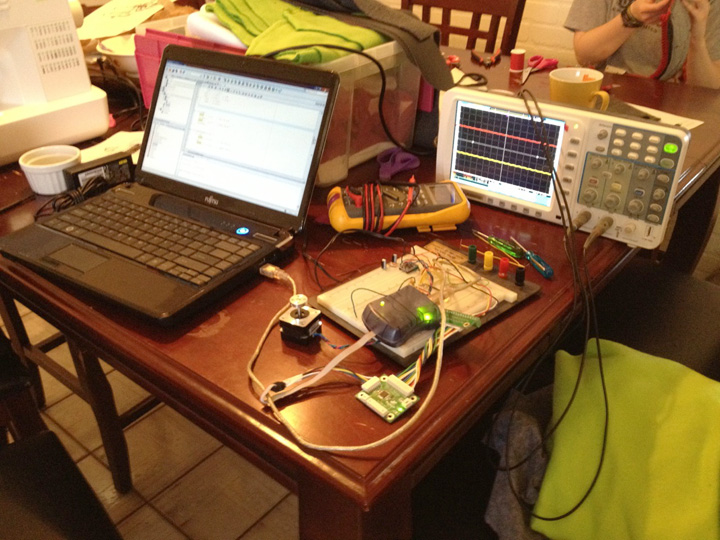
This week while I stitched lining onto my vinyl spades, he got the stepper working for the helmet. Why do we need a stepper housed inside the 'tip'? Well, what else is going to make the lolly pop spin?
At the beginning of this week we sat down and designed an appropriate mounting attachment for the end of the pipe that will hold the stepper in place. Both of these pieces were 3D printed.
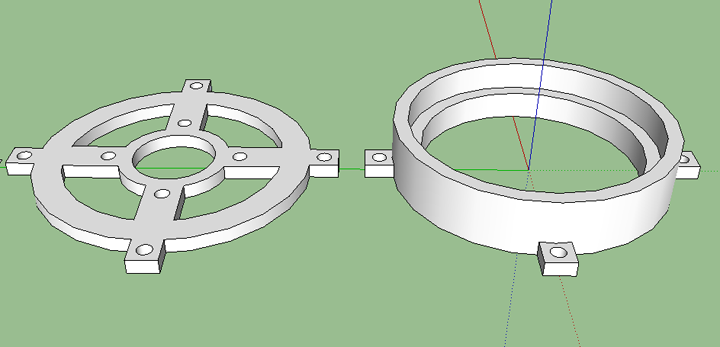
Mark designed the lovely bulbous 'tip' in ViaCAD. We very carefully sculpted it's shape, like two Michelangelos... on four or five cups of coffee :
Both of us visualized the tip as a shiny red apple-like thing, so I picked up some glossy red spray paint to do the job.
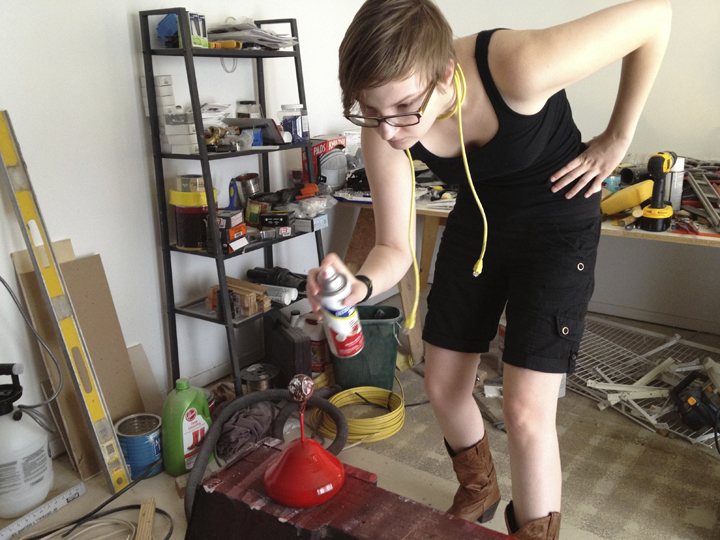
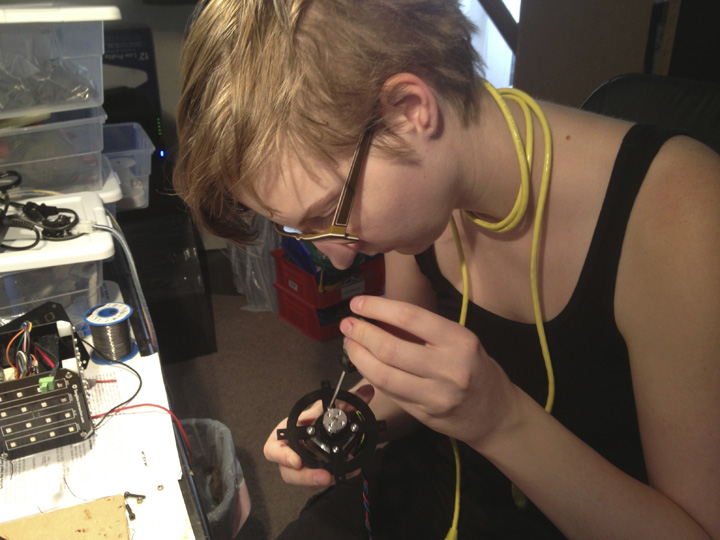
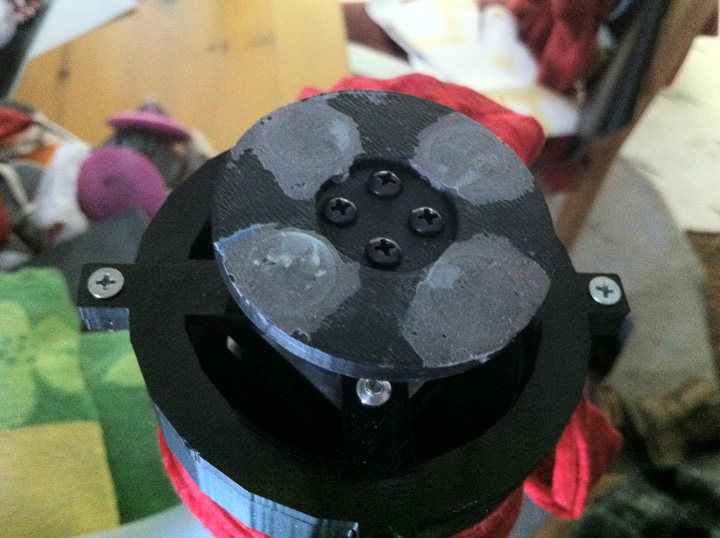
The tip sticks with 4 quarter-sized magnets to a circular mounting plate Mark made for the stepper shaft. This allows us to pull the helmet on and off without having to unscrew any hardware.
Top of the gear shaft :
bottom inside of the tip :
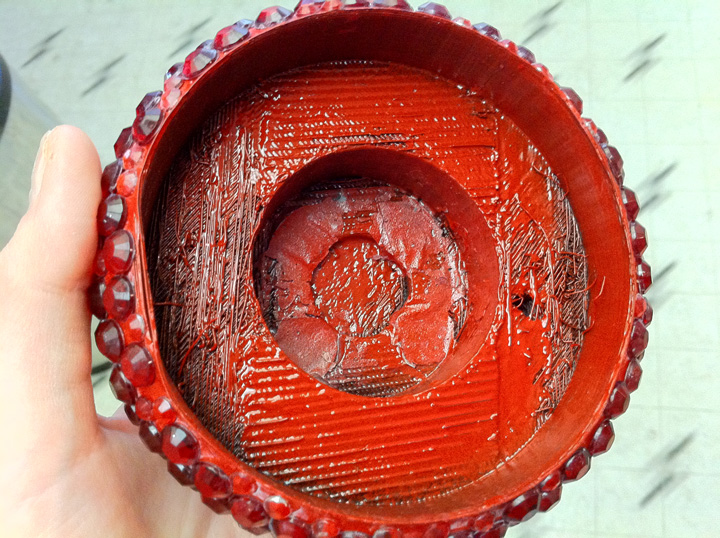
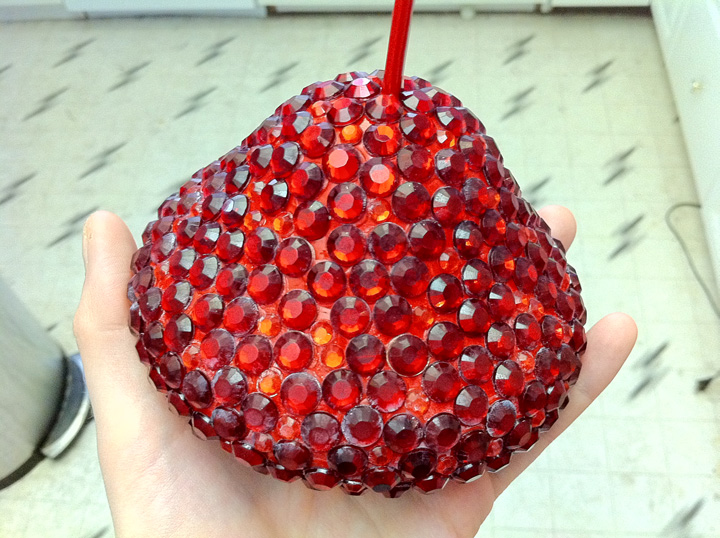
Once dry, the tip looked like a brand new red convertible. This was sharp and sleek looking, but not audacious enough. The tip to our phallus needed more than that, so we went out in search for bling. I needed a massive amount of round red gems. Hobby Lobby luckily had sheets of exactly that... So once the red paint was done drying in the Vegas summer sun, I began the painstaking process of glueing each individual one in place :
[youtube=http://www.youtube.com/watch?v=ZEIsEaC-hBQ&w=560&h=315]
This sucked, but the outcome was well worth it :
|